
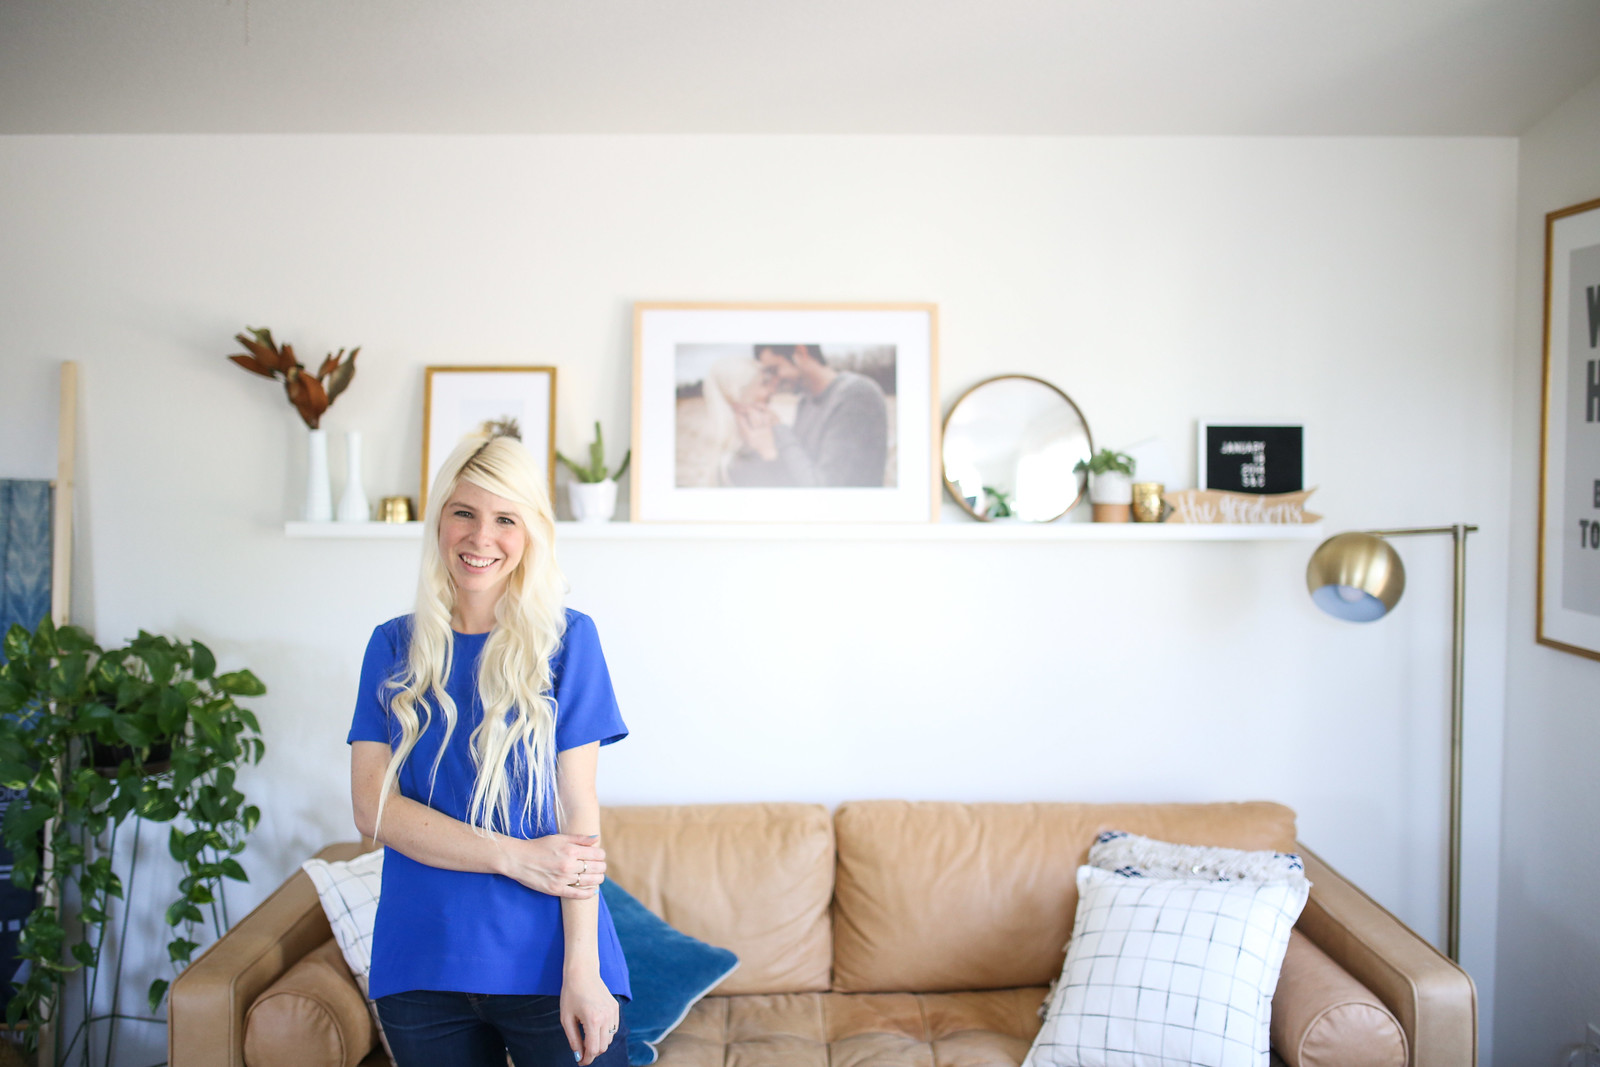
Well hello there! Today I’m thrilled to be partnering with the sweet folks over at Framebridge on a post that is near and dear to my heart (and home!) — how to style a photo ledge! When we moved into our home a little under a year ago, our photo ledge was one of the very first pieces we installed. I had this vision of a space where I could display not only our beloved photos, but also our favorite trinkets, plants and other small items that would really pull the whole space together. Last April, Framebridge was kind enough to help in getting my dream of my very own photo ledge off the ground (check out my post from last year here!), and this year I’m very excited to be partnering with Framebridge yet again to share a step-by-step on how to style your very own photo ledge!
Let’s get started! Step 1: Start with a clean photo ledge (ours is from Ikea and was inexpensive). Before I start decorating, I like to give the ledge a good dust and wipe down to ensure a fresh, clean space for the frames and items we’ll soon be adding in.

Step 2: Position your base frame. I like to start with the largest piece I’ll be displaying, in this case – a photo of Scott and I from our recent shoot with Dawn Photo in the Marin frame. Your base frame will act as your anchor, so place it in a spot where you see the rest of your items flowing from, whether it’s a symmetrical, asymmetrical style or something all your own.

Step 3: Place your complementary frame(s), spacing it far enough from your base frame so that you’ll have room to incorporate a plant, trinket, etc. into the area. Personally, I like my complementary frame(s) to be of a different shape, size and color from my base frame, but depending on the style you’re going for, your complementary frame(s) can be the same style or color, or even just very similar to your base frame.
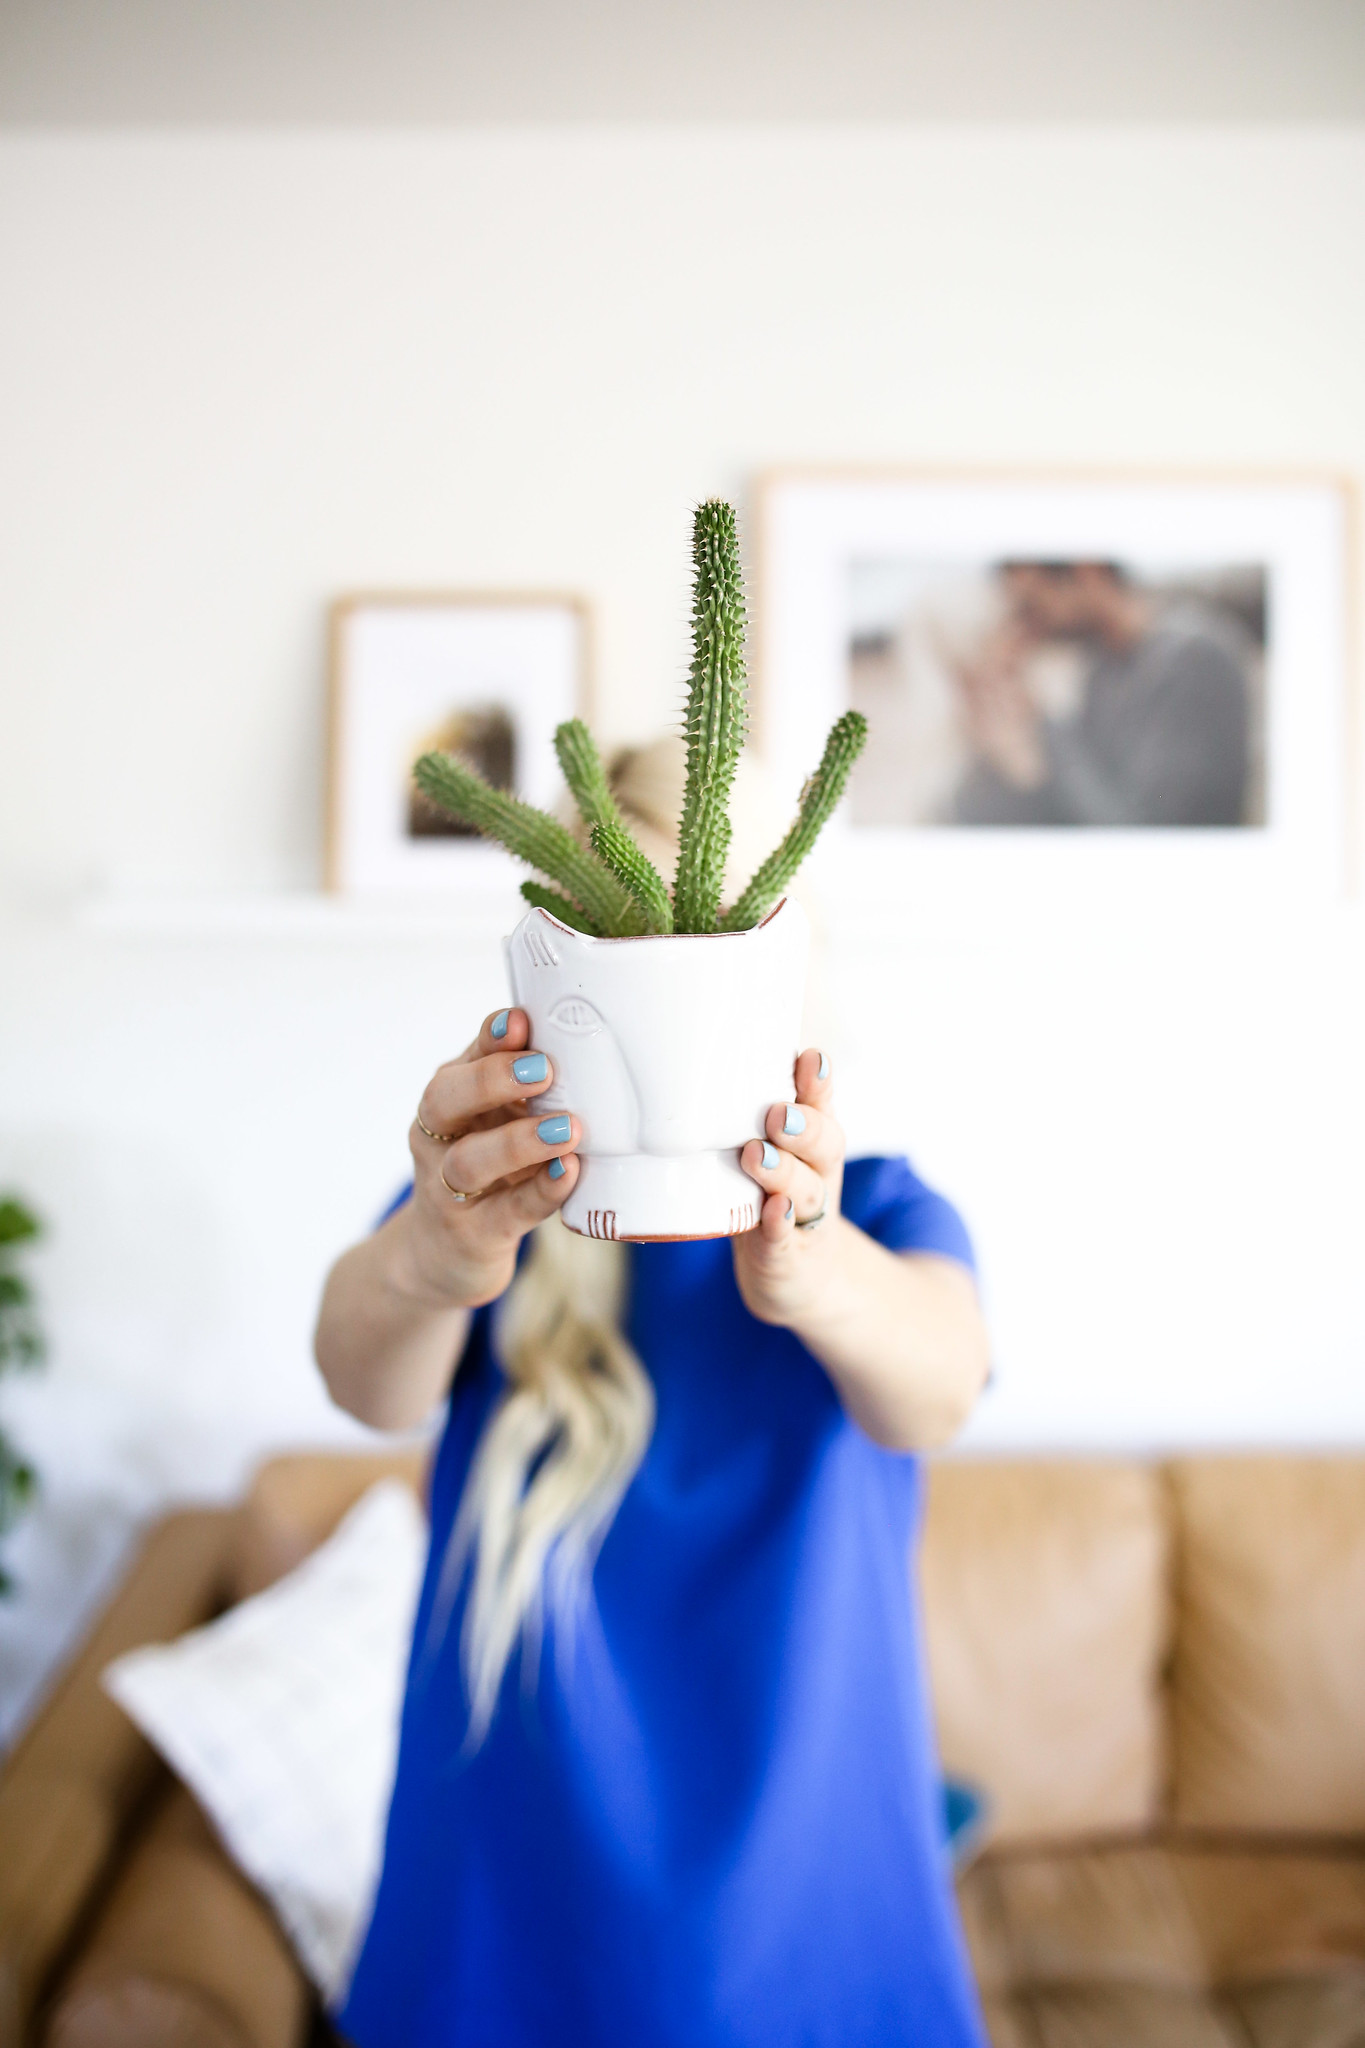
Step 4: Start decorating! I like to incorporate small plants, favorite candles, mirrors and personal trinkets into my photo ledge. I tend to keep the colors seasonally appropriate, and often look for pieces around my own home that would fit into the space nicely, keeping in mind a color palette or similar tone.

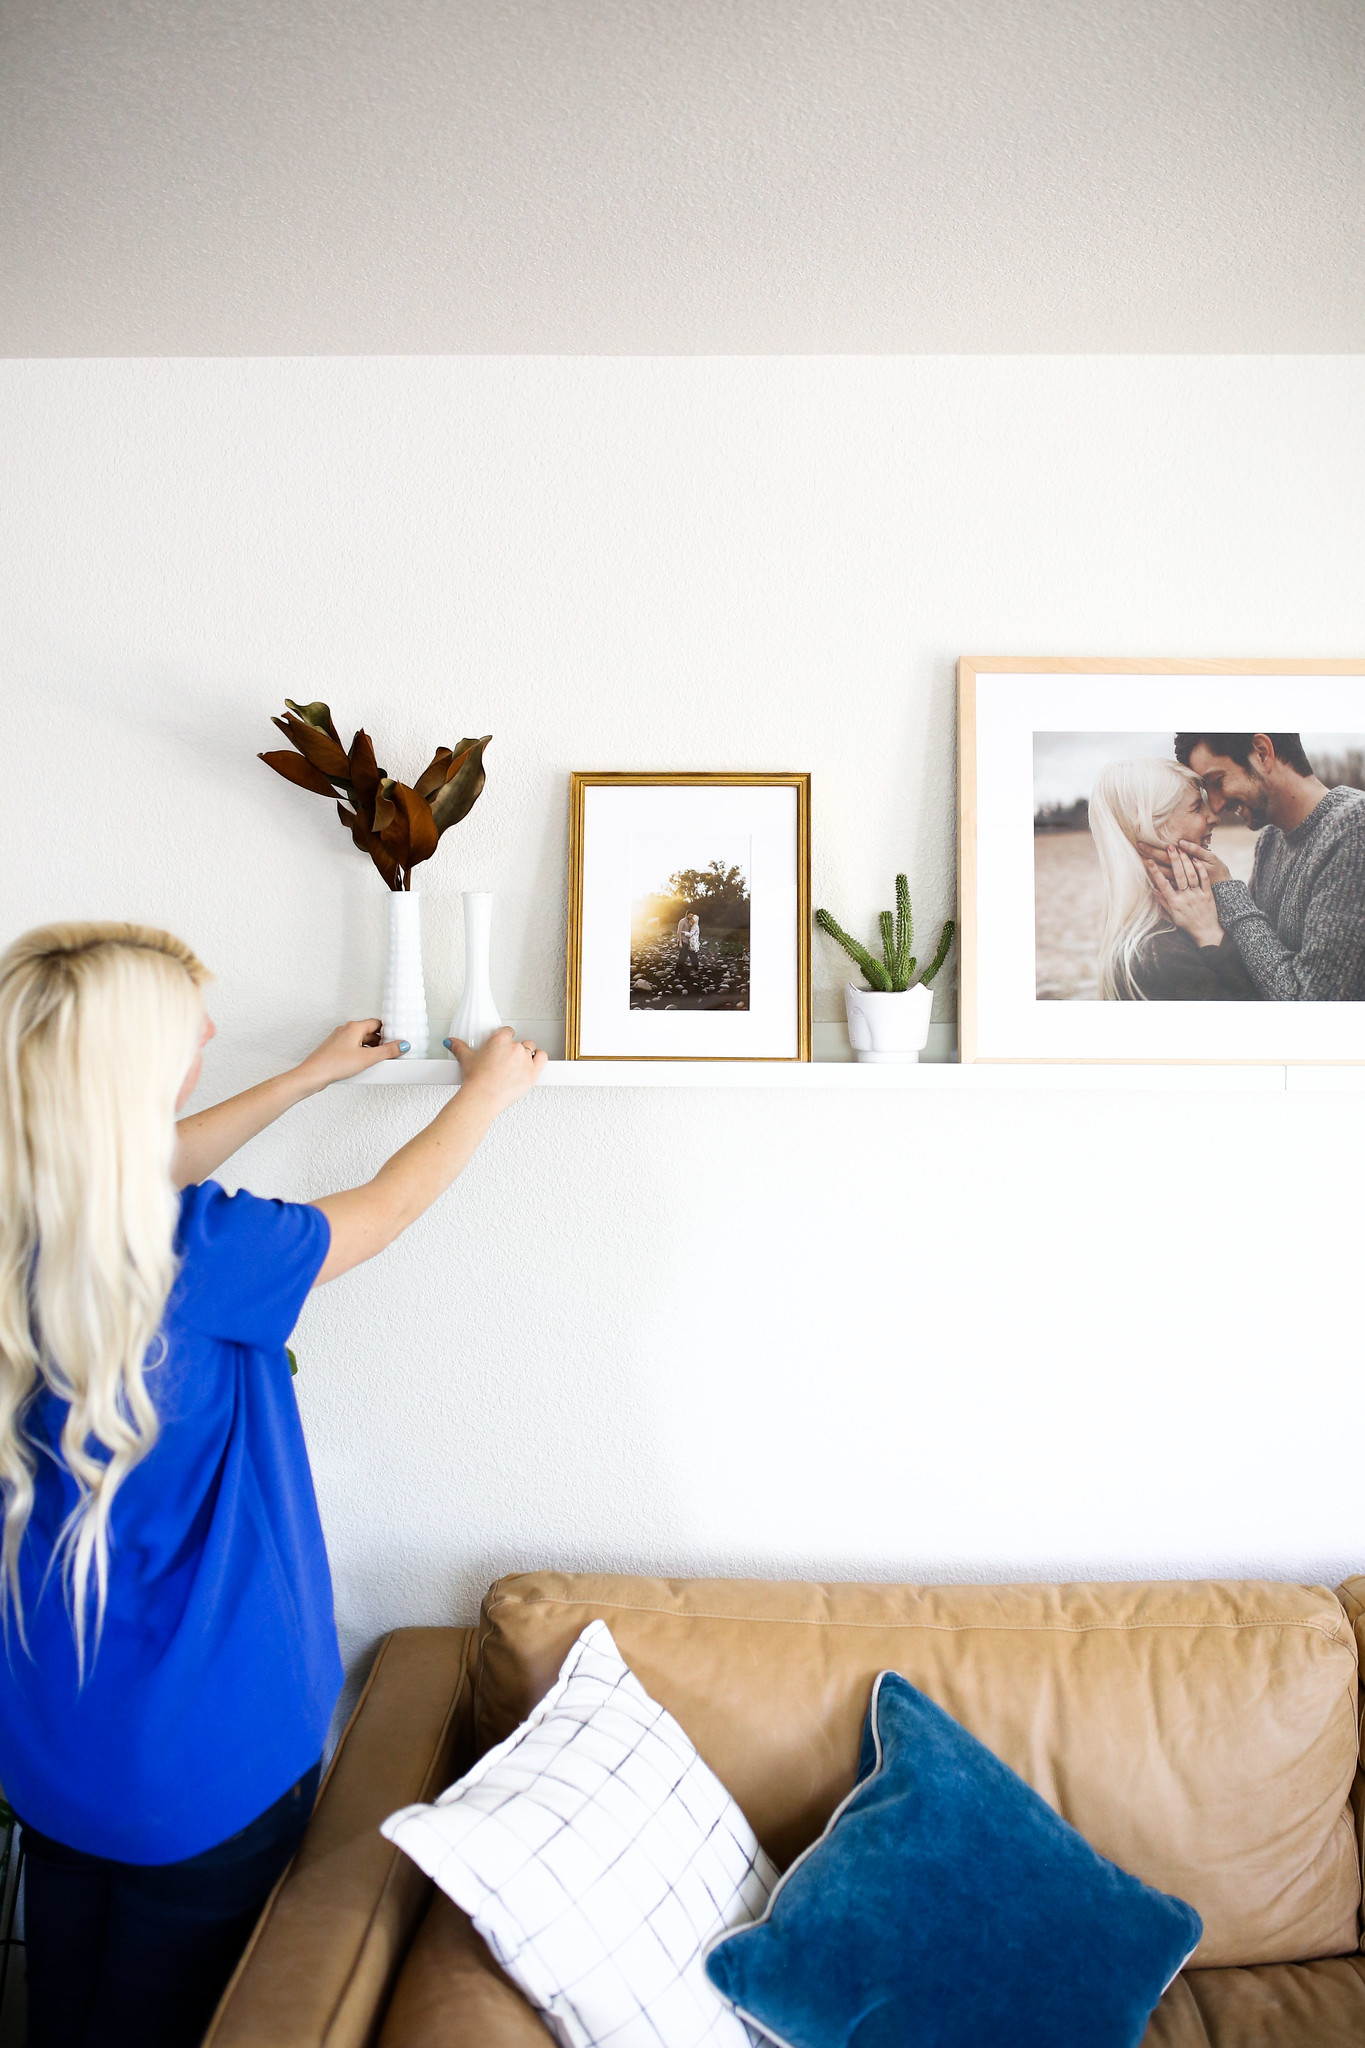
These vintage milk glass vases were inexpensive and bring some height and dimension into the space — they’re also perfect for placing dried florals in!

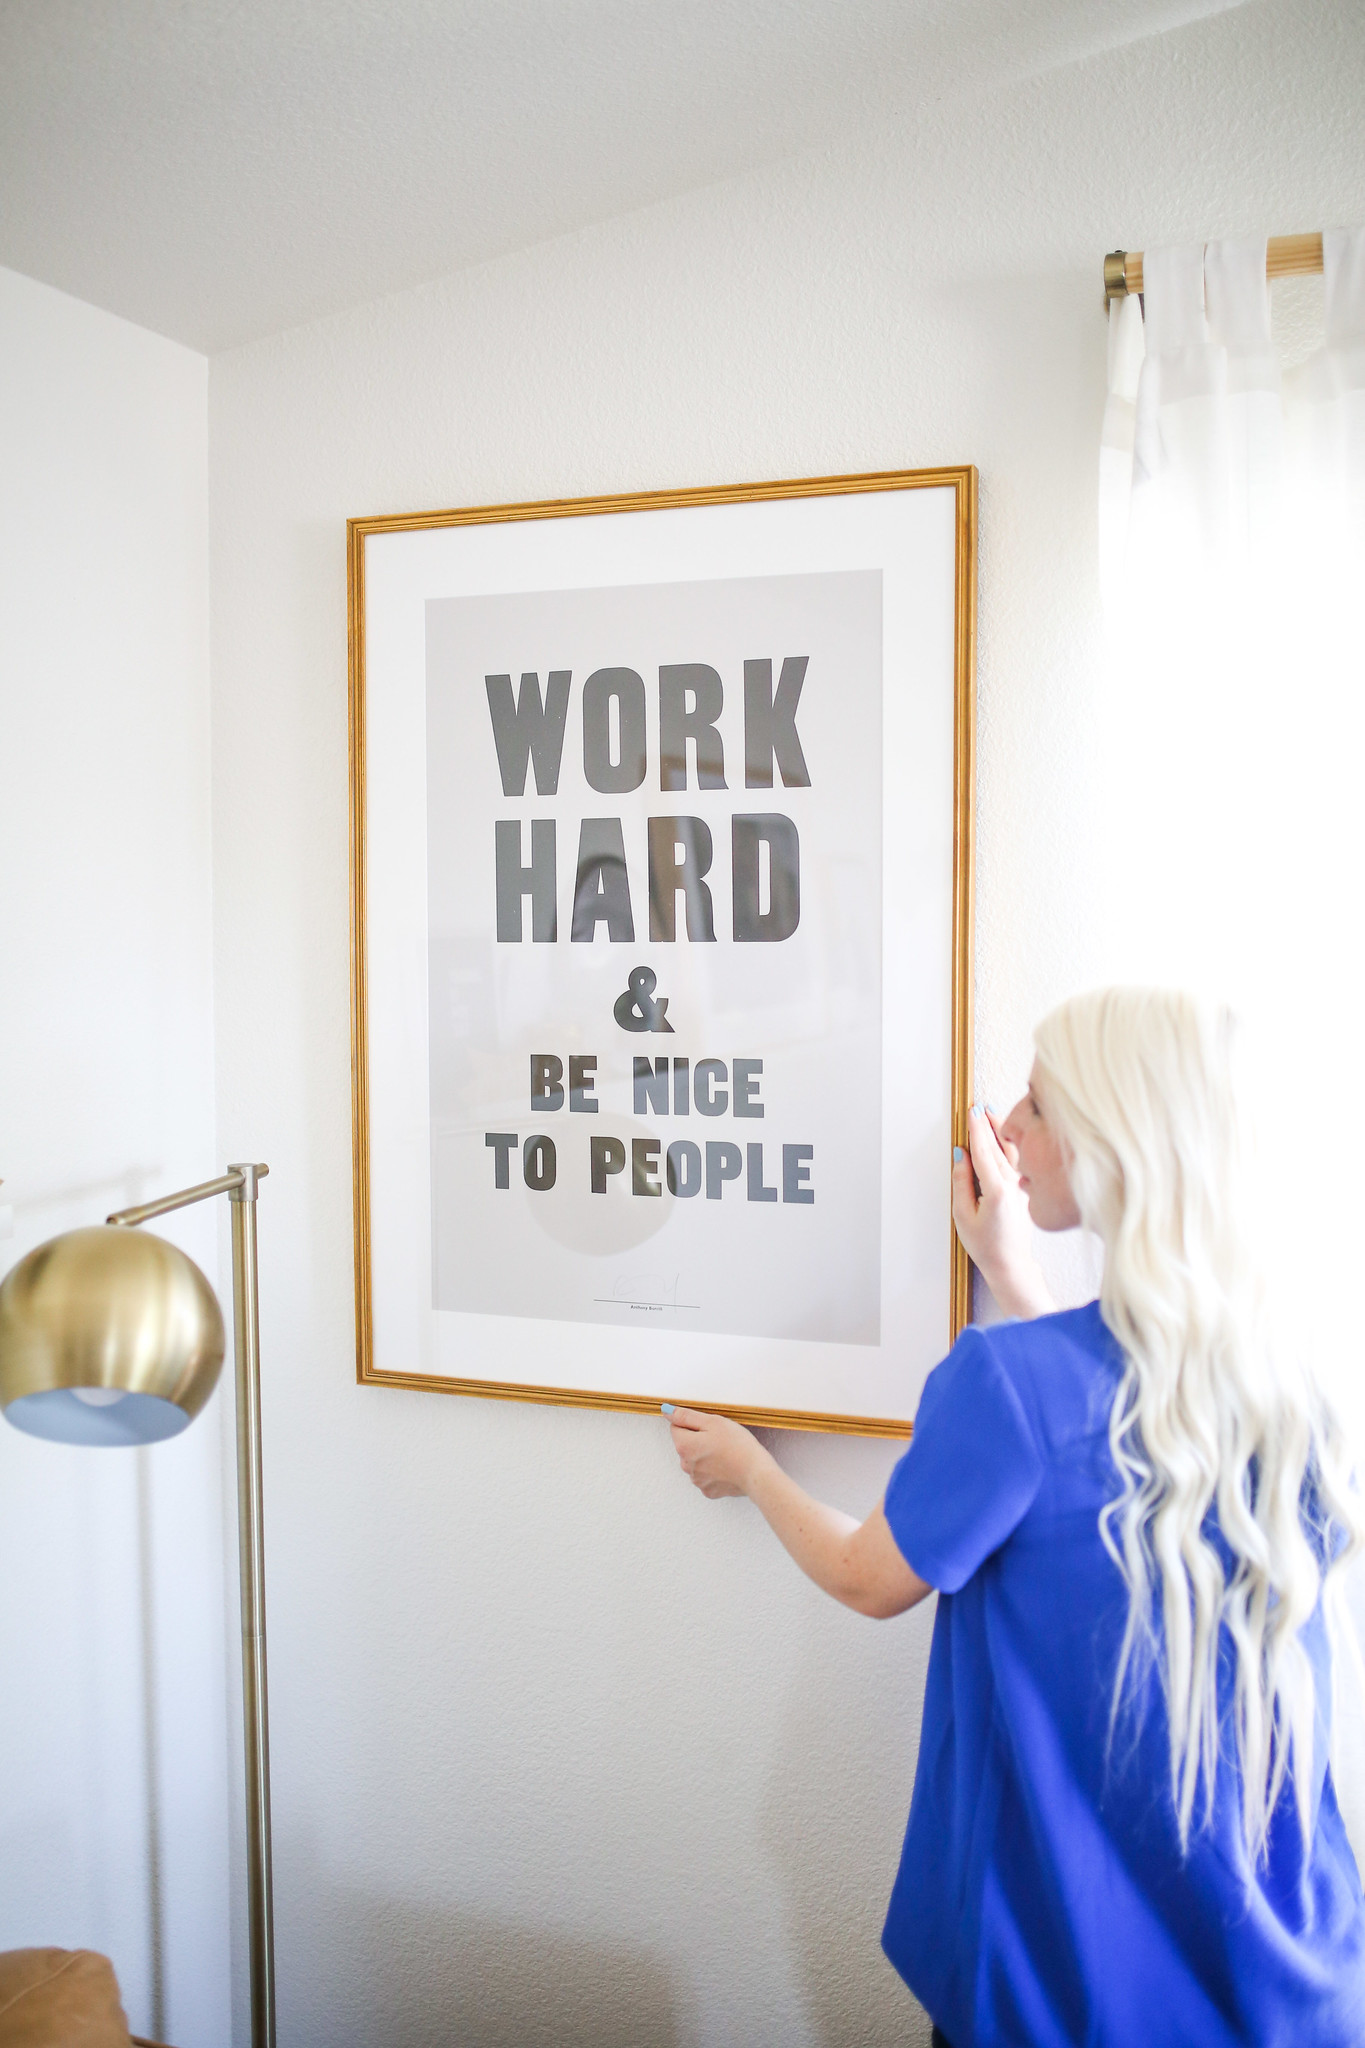
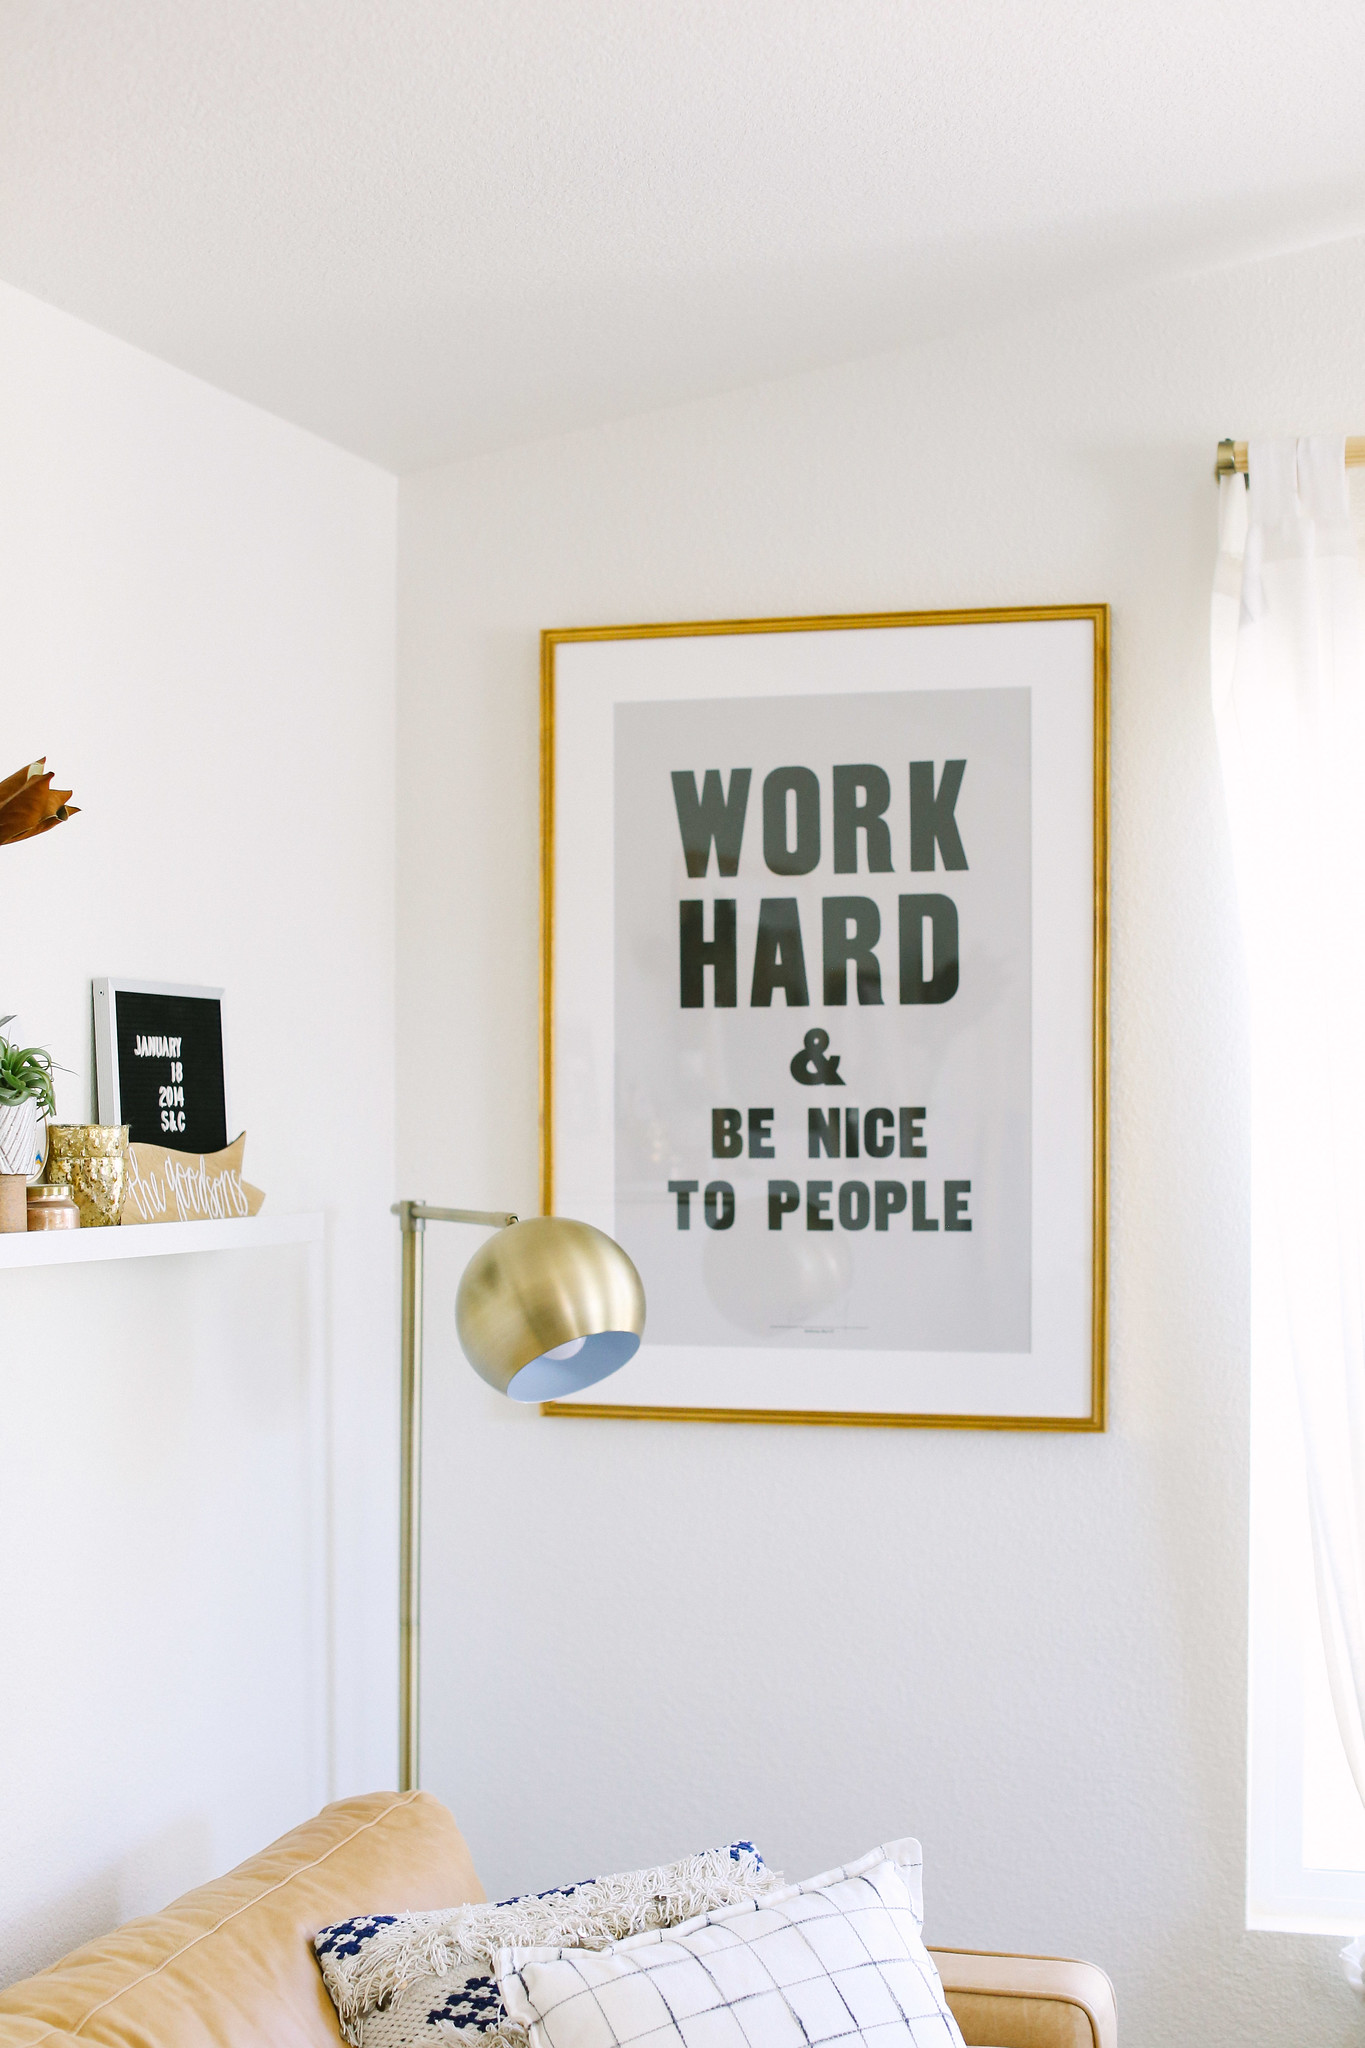
While the photo ledge maintains our main focus, it’s also important to not forget the areas surrounding your ledge. Depending on your home and where you place your ledge, this will be a bit different for everyone — but I like to place a complementary frame on the wall to the right of our ledge that will help tie the whole look together. We purchased this print from Schoolhouse Electric back in January during our trip to Portland and sent it in to be framed by the Framebridge experts. We chose the Richmond frame and are so happy with how simple the whole process was. We already had a shipping tube, so we opted for printing off a pre-paid shipping label and sent it out the next day. If you don’t have a shipping tube handy, Framebridge can also send you one, along with a shipping label to print at home. This was our first time sending in an item to be framed, and we couldn’t be more happy with the end result.

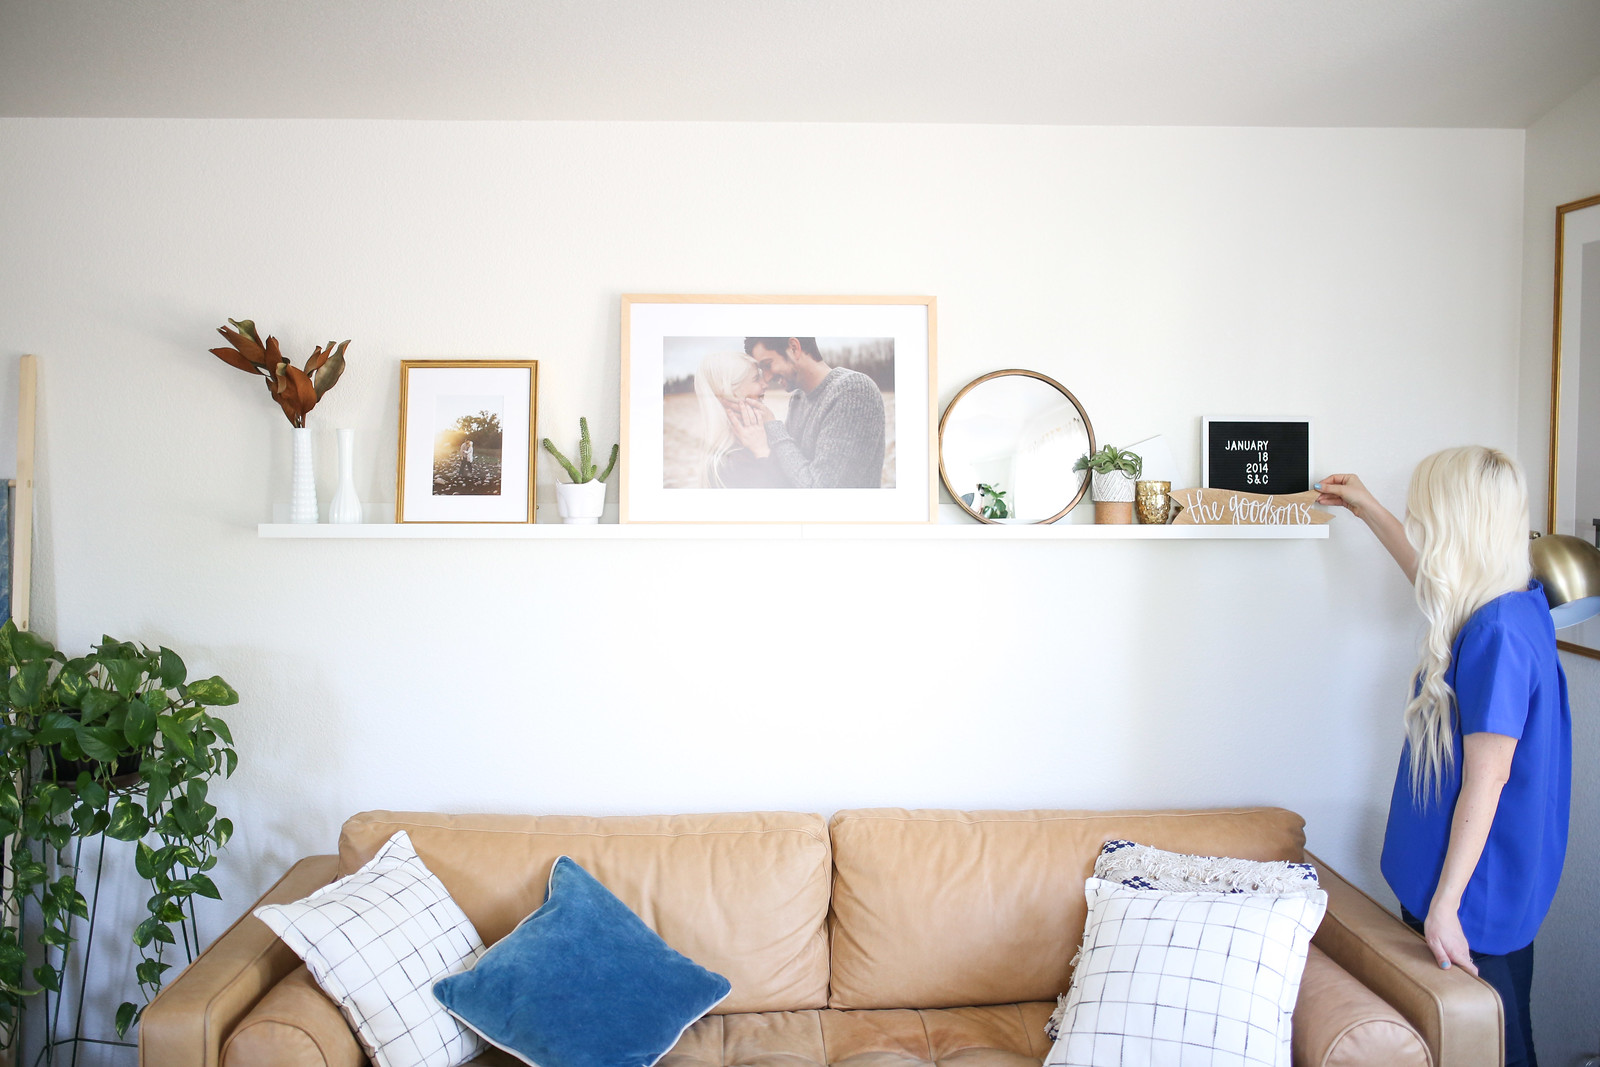
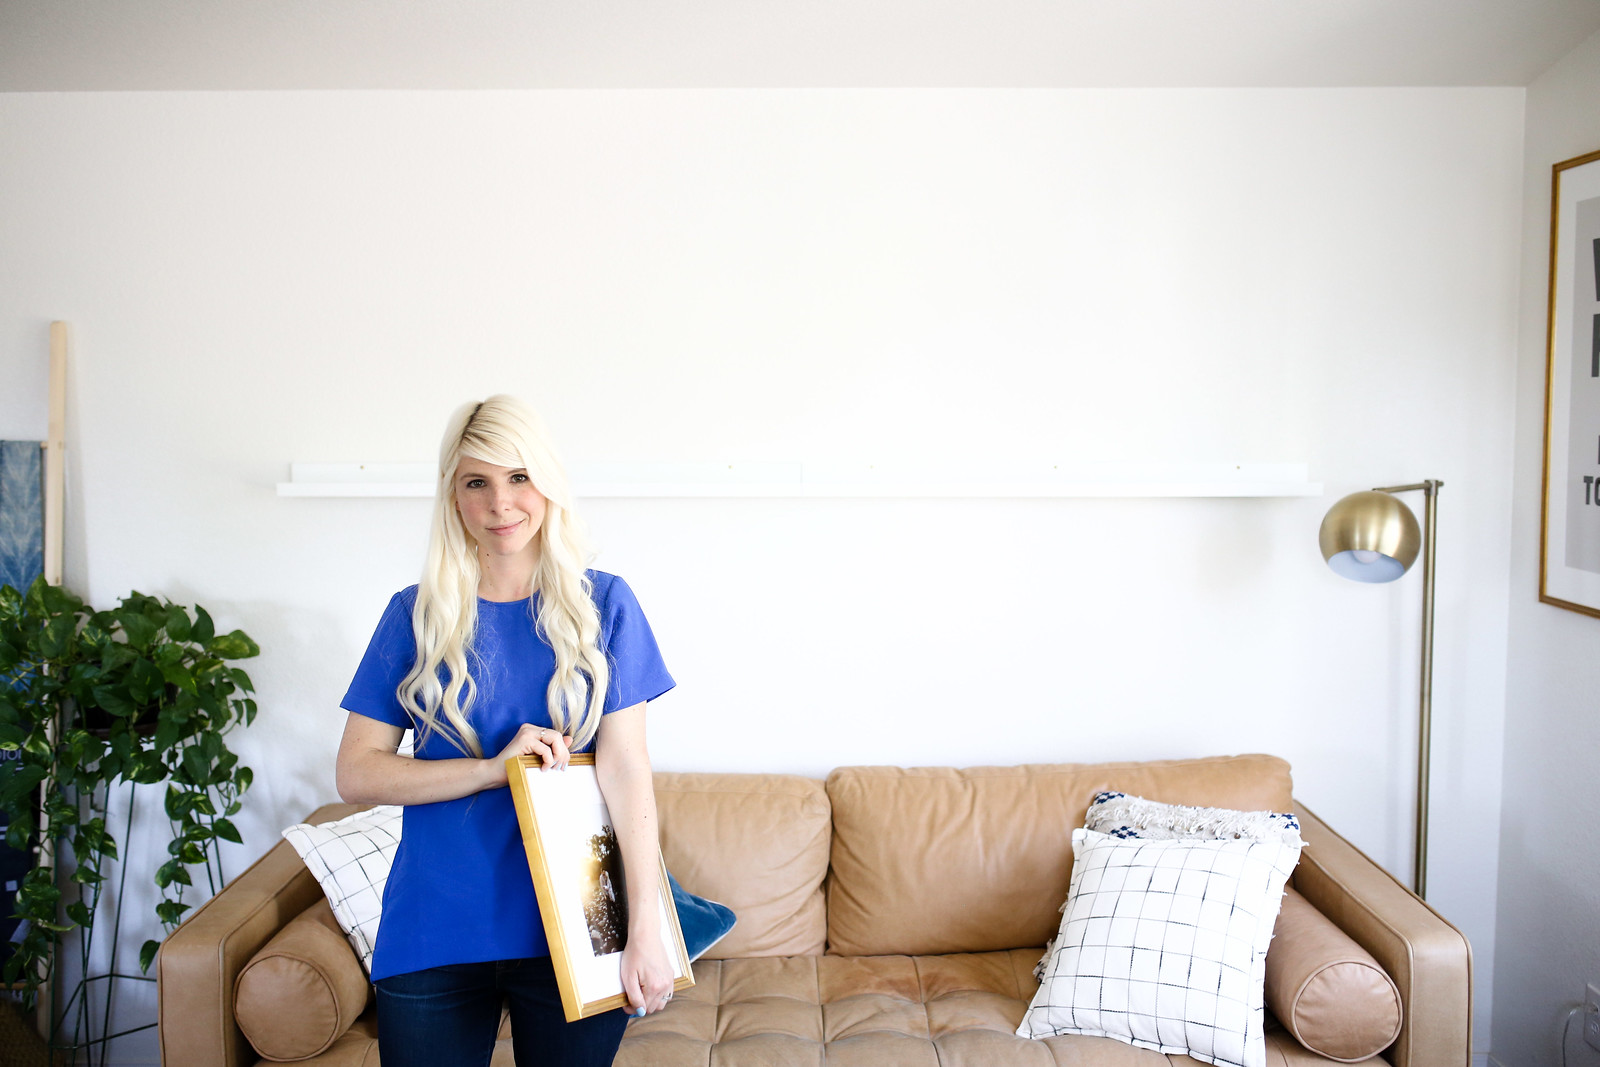
Step 5: Final touches! After I placed my base frame, complementary frame(s), plants, trinkets, etc., I like to take a step back to see where I might be able to add in an extra piece, take away an item or even just tweak an area of the ledge just a bit so the whole space really flows together. Don’t forget that there is no right or wrong way to do this — it’s all about showcasing your personal style and favorite frames and photos to bring in some warmth and personality to your home.

And that’s it! Five easy steps for styling your own photo ledge! Need a little more inspiration? Or have a different style in mind? I’ve included two more styled photo ledge looks below that both Scott and I are fond on — one is more of a symmetrical style, and the other leans toward an asymmetrical look.


Ready to start working on your very own photo ledge? Use the code CHELSEABIRD15 to get 15% off your first Framebridge order through the end of July! A huge thank you is in order for the kind folks at Framebridge for partnering with us on this fun how-to! Let me know if you’re planning on styling your own photo ledge now, or if you would like to see more posts like this in the future! Happy Friday, friends! I hope you have an amazing weekend!
-Chelsea xo