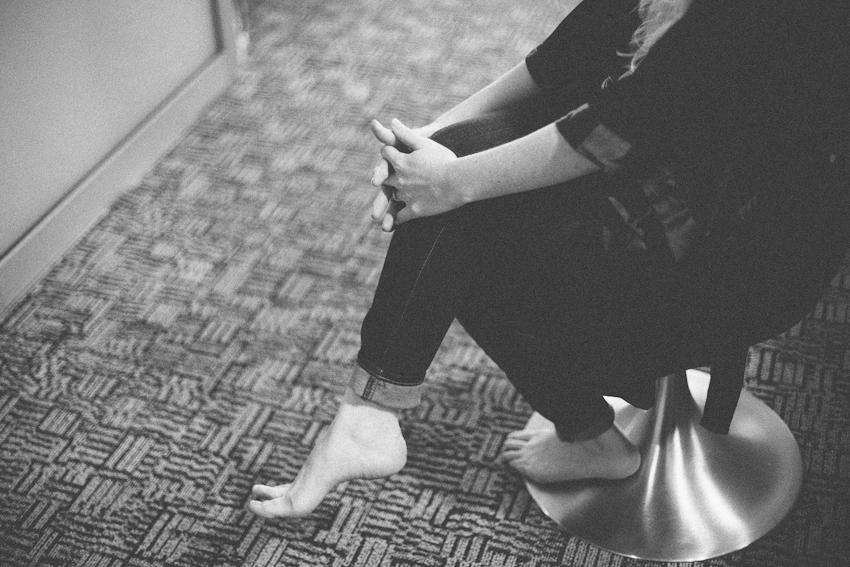
Happy August! I’m back again today with part two of our wedding series – Our First Look! From the very beginning we knew we wanted to have a “first look” moment. Logistically, it made sense to see one another before the ceremony so we could take photos together while the lighting was still perfect. However, emotionally, I knew that I did not want to wait to see Scott for the first time when I was walking down the aisle. I wanted him to see me in my dress for the first time in a private moment for just us two. It was also a major bonus that this gave us time to calm our nerves and breathe together before we said, “we do.”
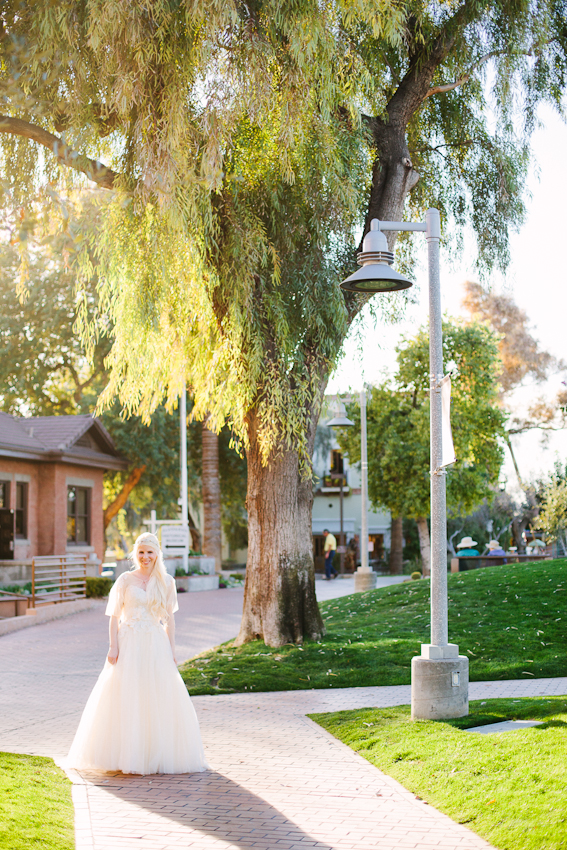
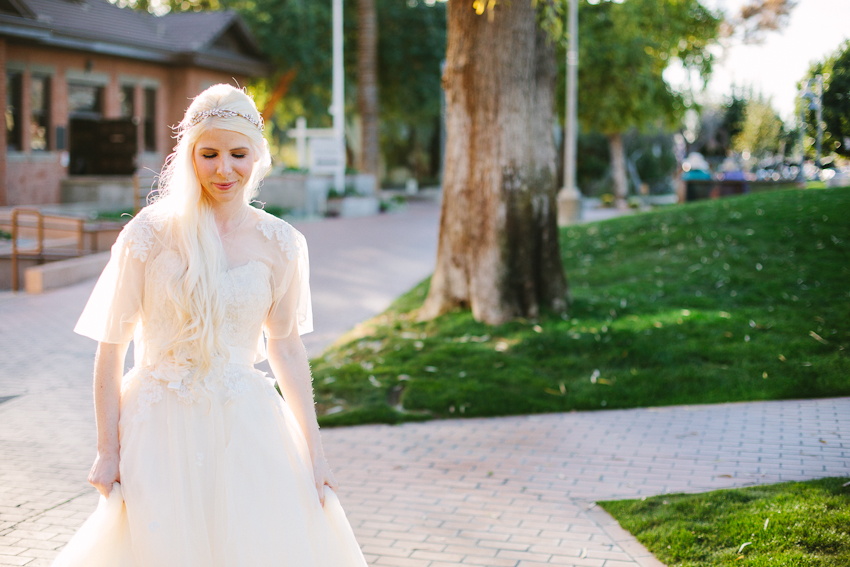
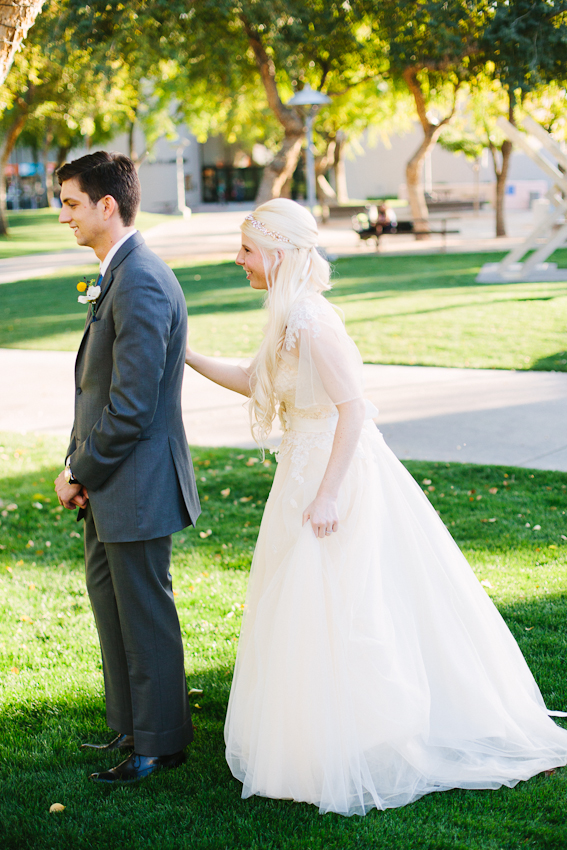
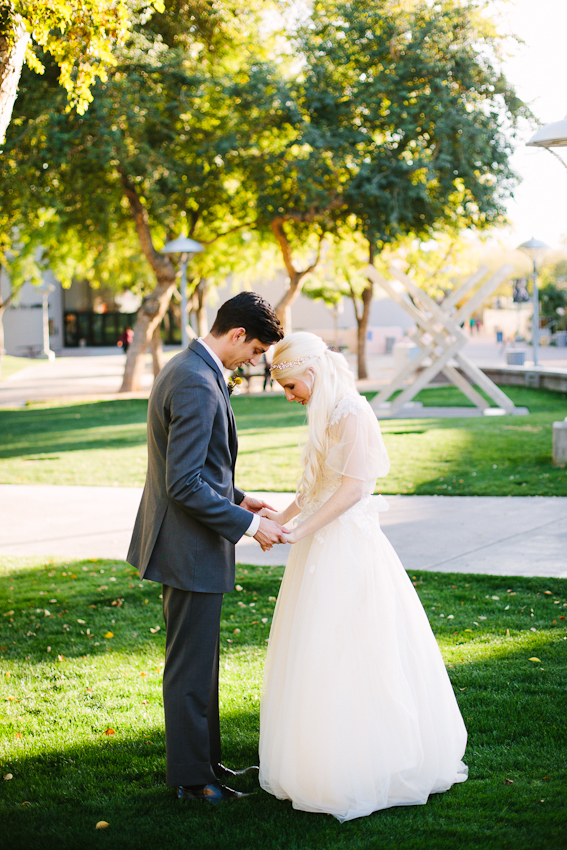
Scott waited for me in the park in front of our venue, back turned so he couldn’t see me walking toward him. I didn’t know this at the time, but apparently he had been standing there for quite a while and he was hot and a ball of nerves by the time I got there! Sorry I made you wait honey – I may have taken a little extra time to get ready!
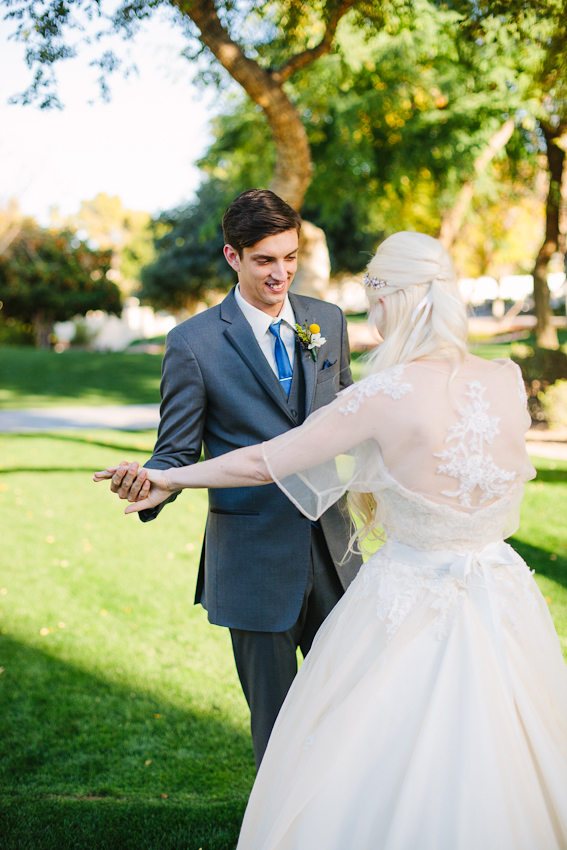
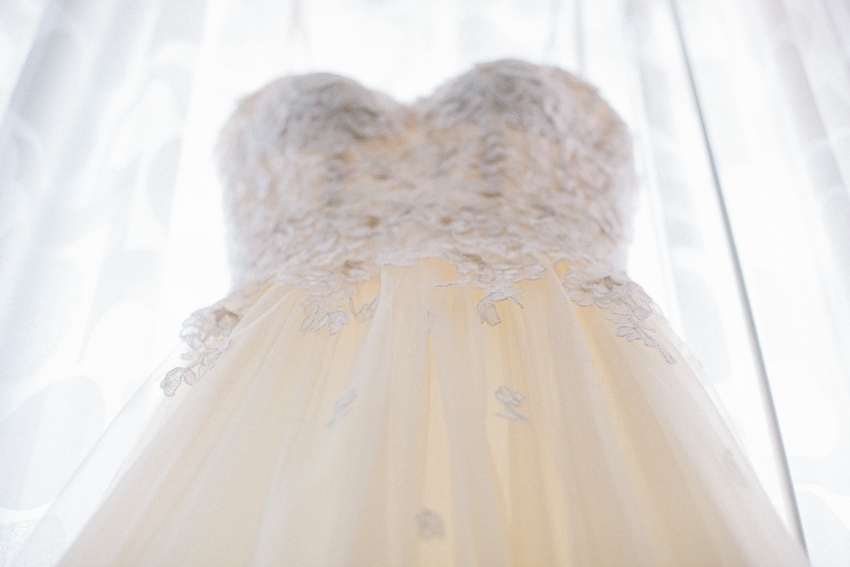
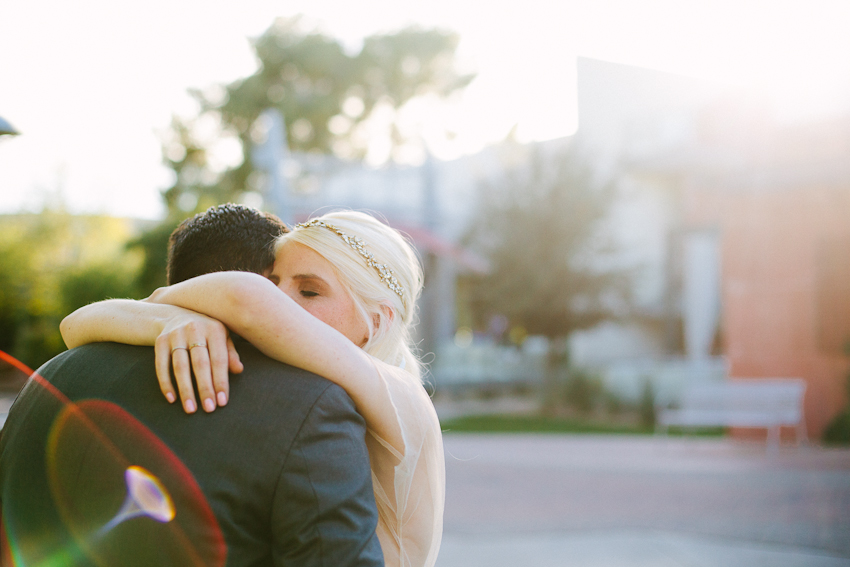
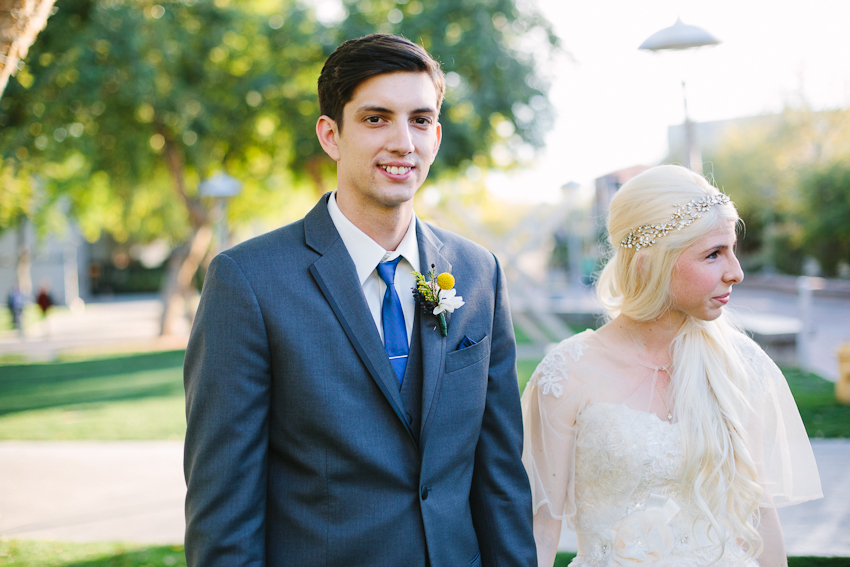
I remember standing behind him and whispering, “Are you ready?” The moment he turned around all my nerves floated away and I was SO happy that he finally saw me in my dress. For months I had been asking him if I could share the details of my dress (half kidding and half being totally serious because I just wanted him to know), but he stuck to his guns and never glimpsed at a picture or listened to any details that I tried to tell him. He really wanted it to be a surprise, and looking back I’m entirely grateful for his strength because it was such a special moment when he finally saw me in my dress.
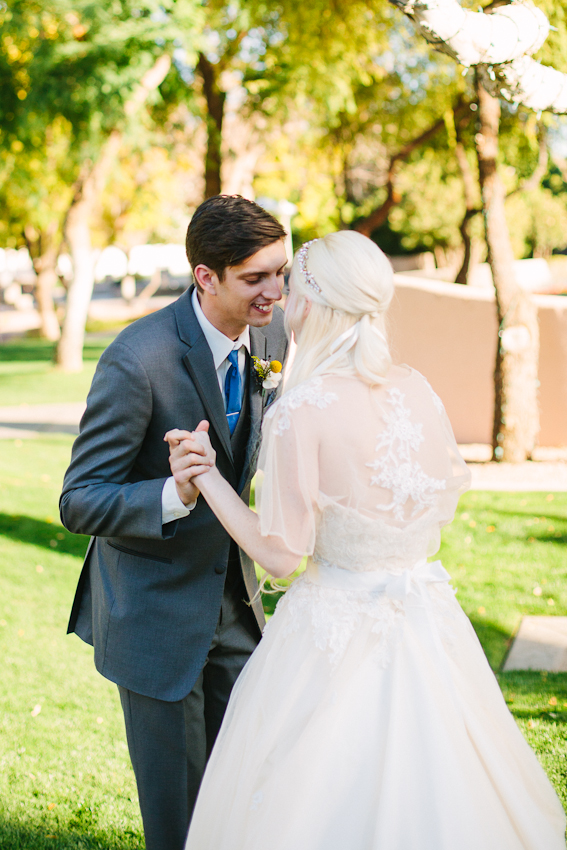

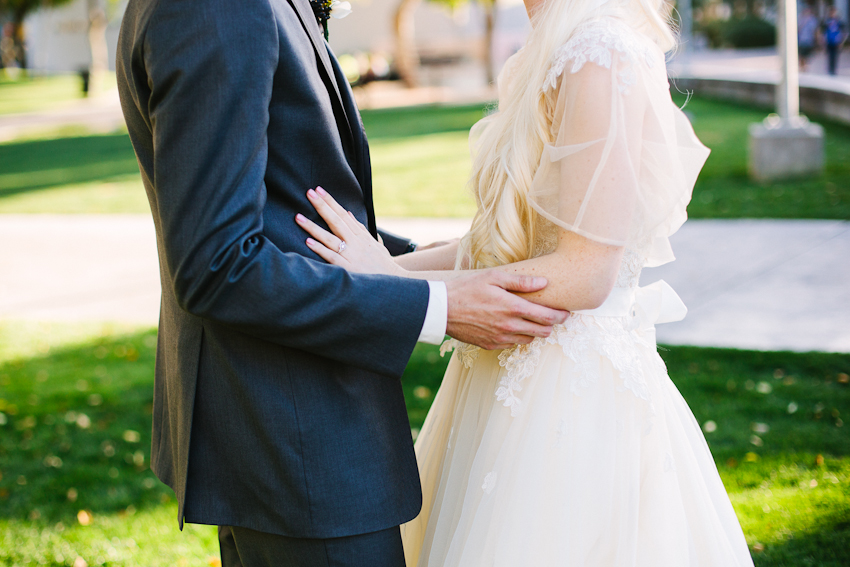
Standing there, he looked so handsome in his suit. While I had already seen what it looked like and knew what color tie he would have, seeing him standing there all dressed up on our wedding day and knowing that in less than an hour he would be my husband felt so amazing. He was glowing and so, so happy. I knew this was going to be the best day ever!
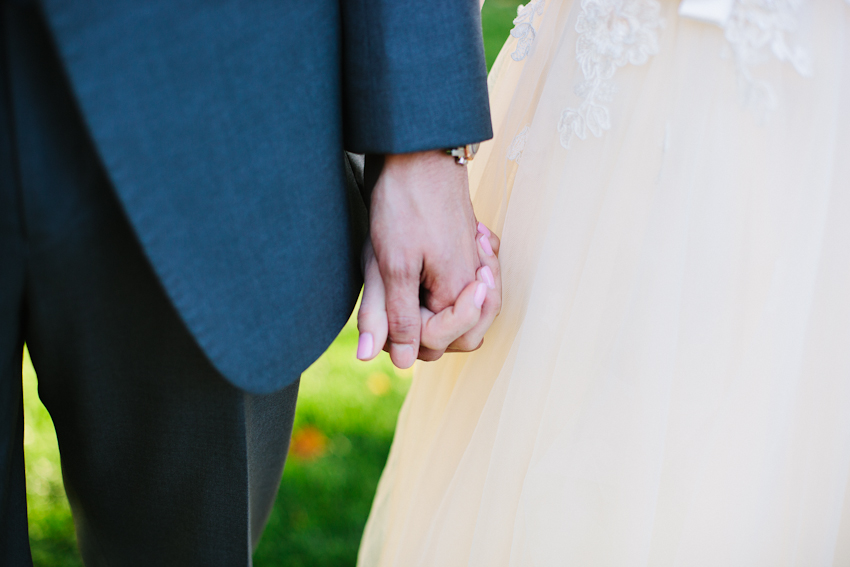
If you’re debating on whether or not to have a first look moment, I say go for it! Looking back, I’m so happy we got to have these few minutes to ourselves to love on and cherish one another before we walked down the aisle. It was incredibly calming to be with him before I walked down the aisle, and I’m so happy that we have these photos to remember this moment in time right before we become husband and wife! We also have our first looked captured on film in our highlight video if you want to see this moment in action!
Thank you so much for reading and I’ll be back next week with more photos and stories from our wedding day soon!
-Chelsea (& Scott) xo
Details:
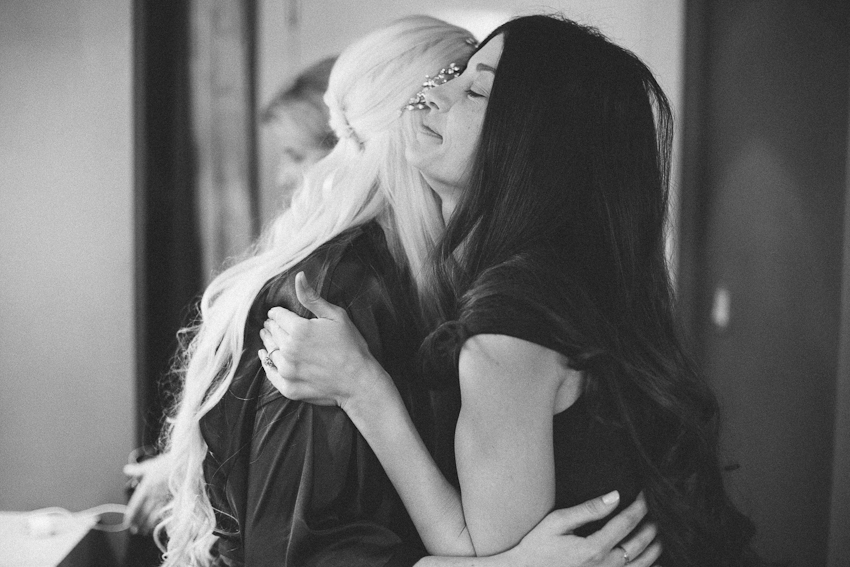
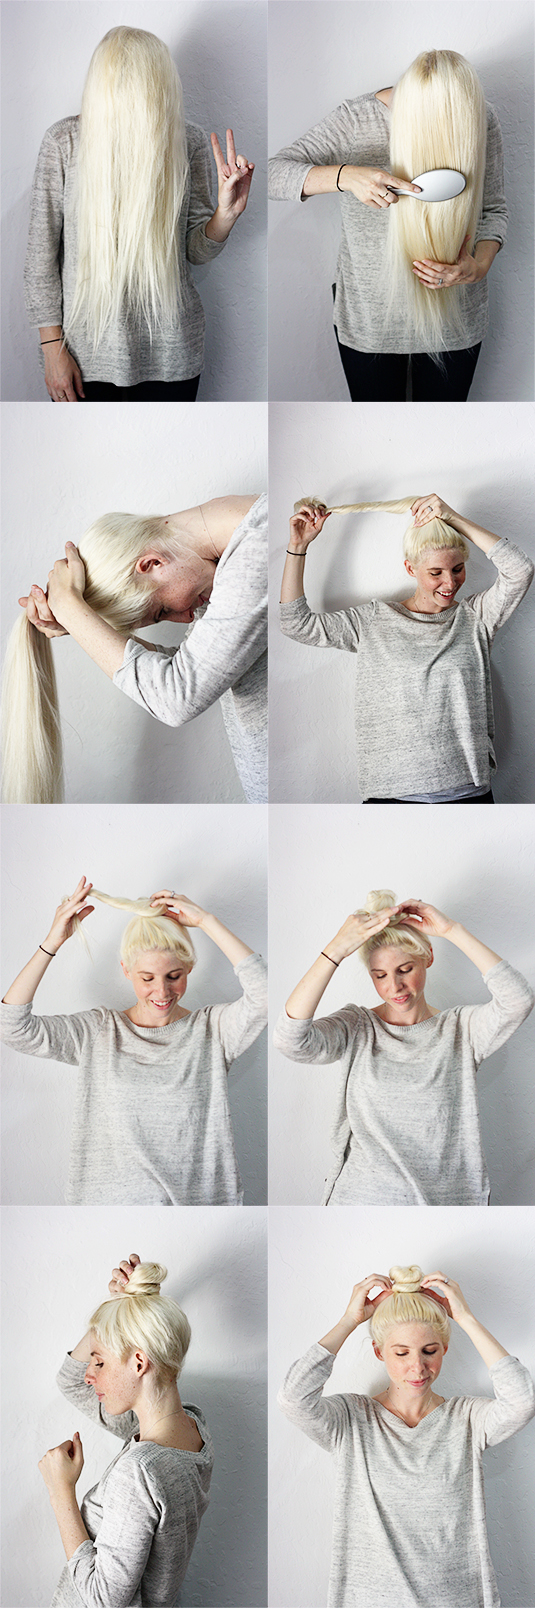
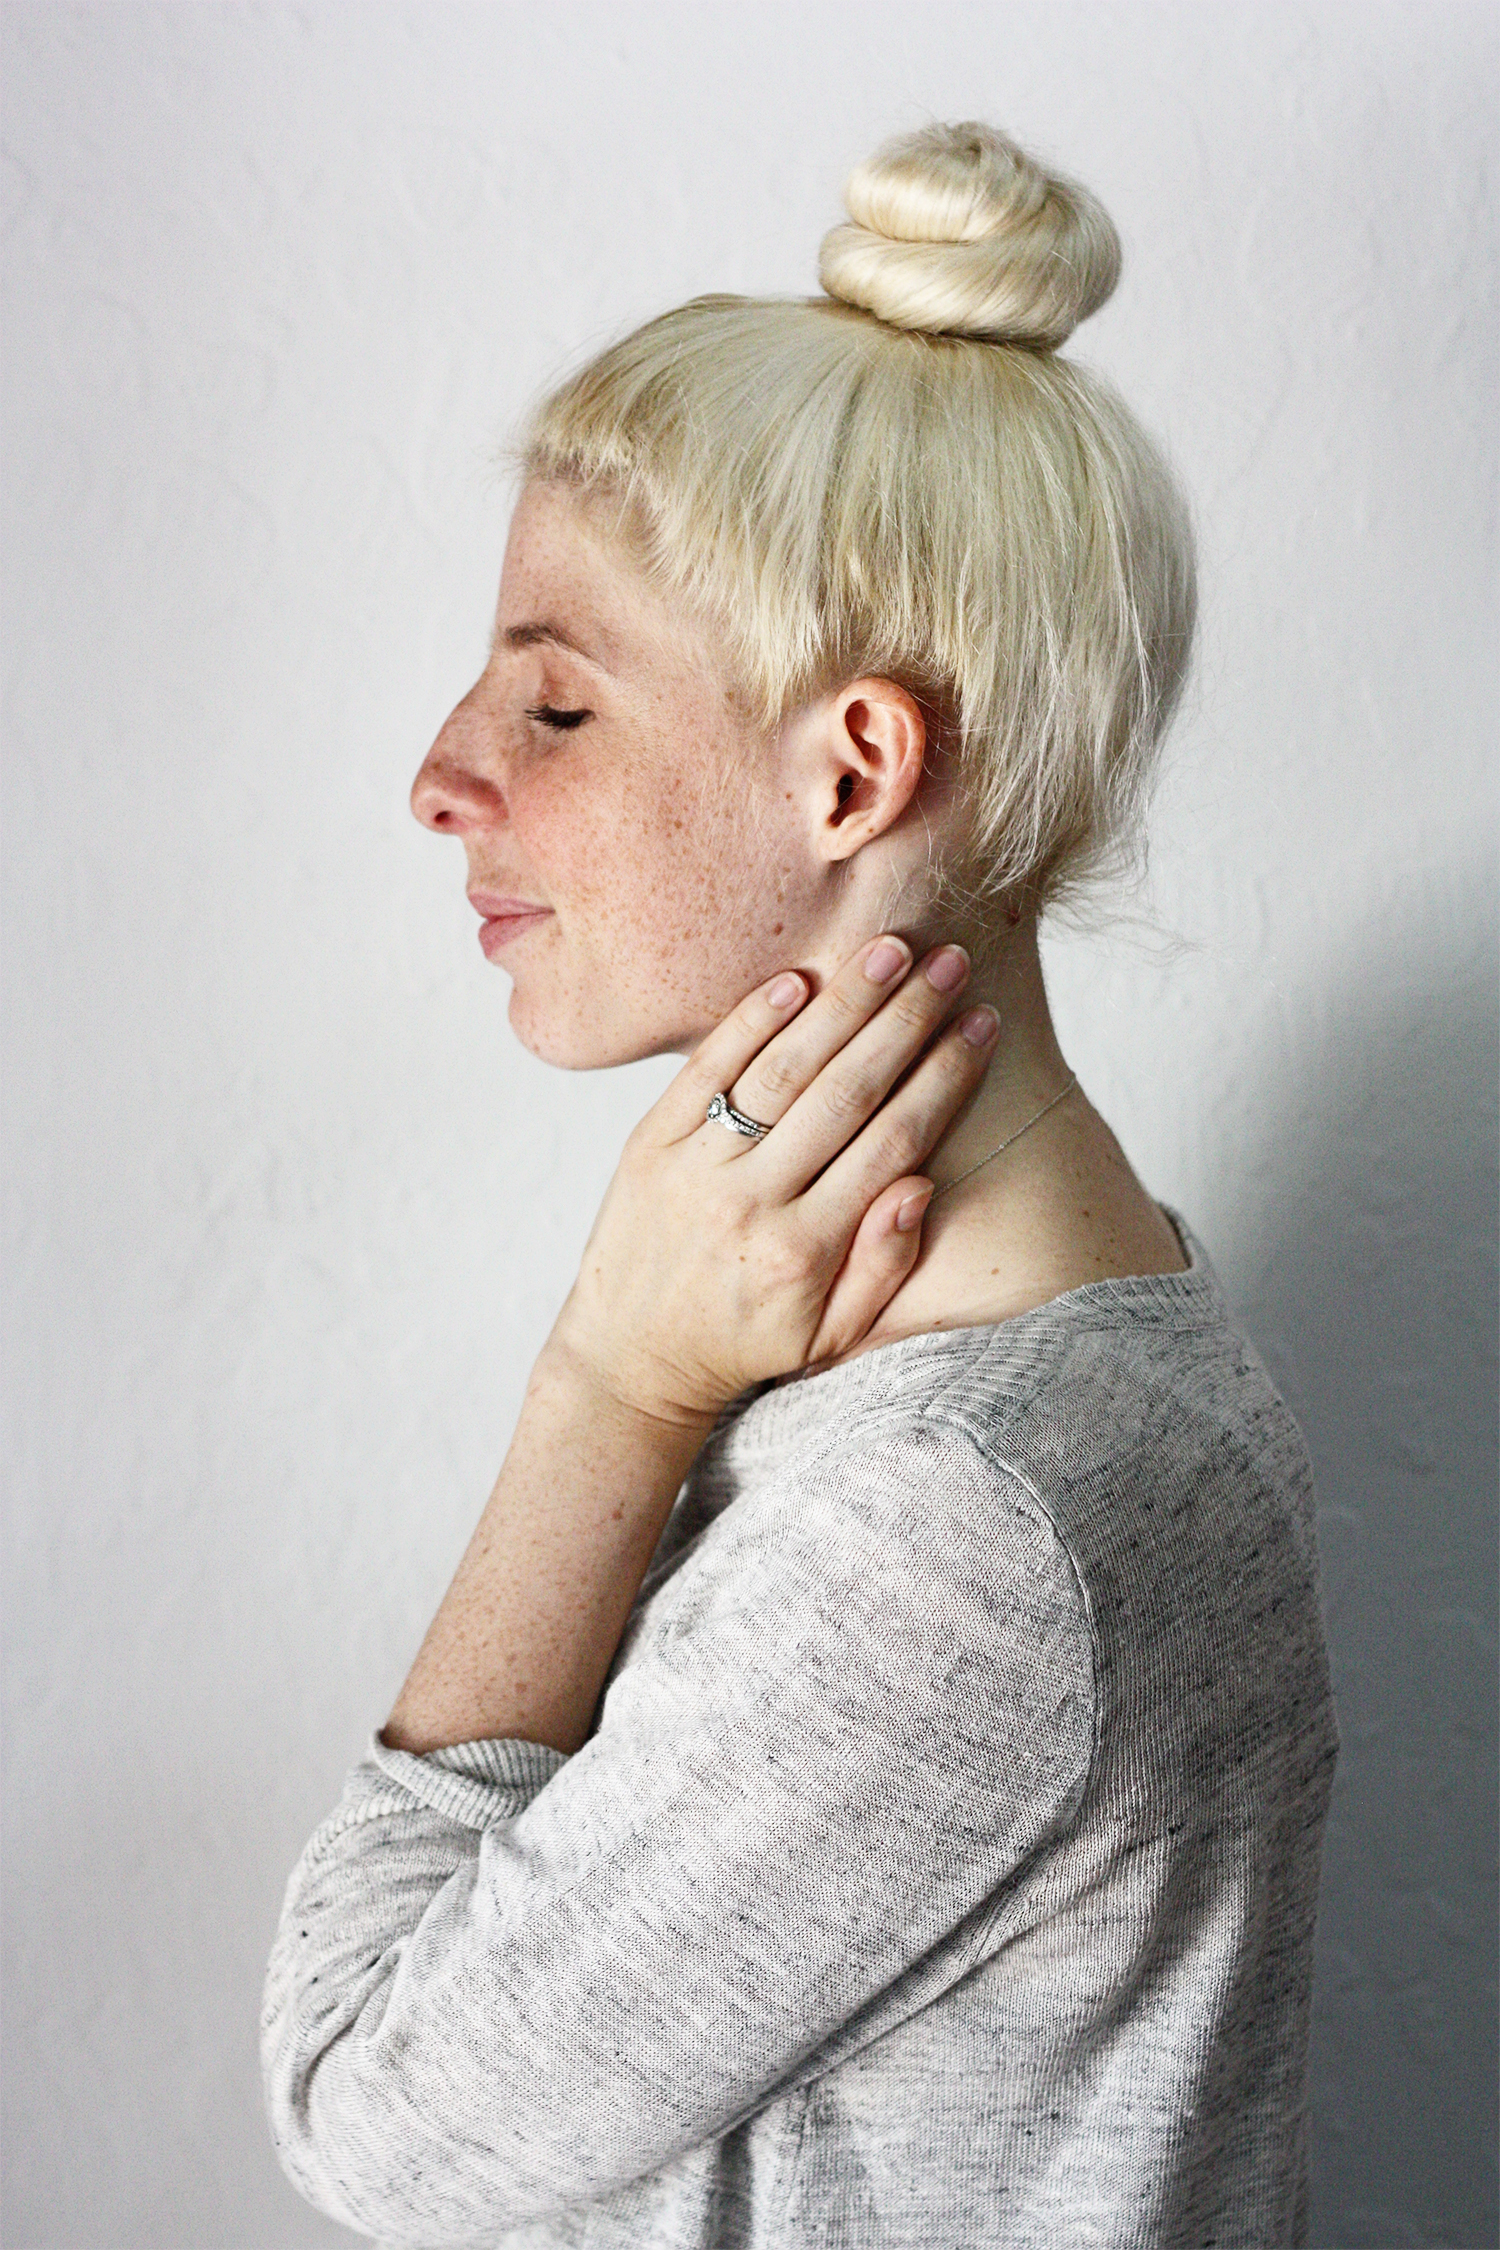
Makeup and hair: Mariana Marie
Dress: Uptown Bridal in Chandler, Arizona
Cover up: Handmade by Cleo & Clementine
Suit: White by Vera Wang
Tie: Topshop
Tie bar: Forage Haberdashery
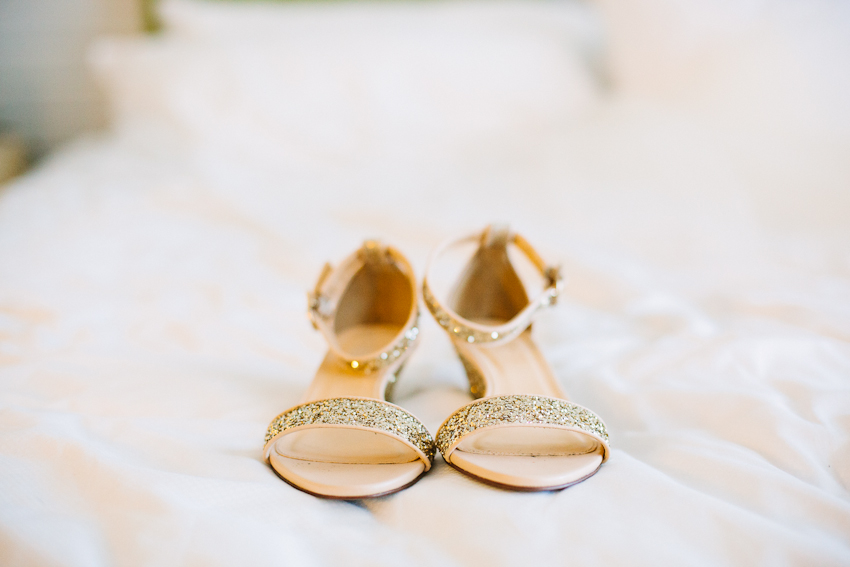
Shoes: Hers – Jcrew, His – Kenneth Cole
Cover up: Handmade by Cleo & Clementine
Suit: White by Vera Wang
Tie: Topshop
Tie bar: Forage Haberdashery
Shoes: Hers – Jcrew, His – Kenneth Cole
Photography: Arrow & Apple
Videography: Romantic Wedding Videos